
2025 Update:
The Star now has wired connections between the coach room, sideline film deck, and end zone film location. You will no longer need to point round antennas at the different locations. The ports on the wall will make the connection to the other locations.
All teams now film the sideline view from the opposite sideline of the coach rooms. That is where you will place your Host Box.
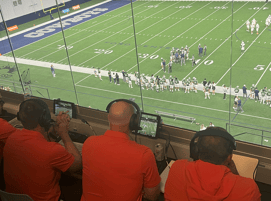
Sideline Film Location
Required Equipment:
- Host box
- Sideline RCK units
- Sideline cameras
- Ethernet cables for RCKs and network panel connection
Setup Steps:
- Connect the RCK units to the router in the host box using ethernet cables
- Connect the router to the appropriate ethernet port in the network panel labeled JBE L3A1-1
- Select the home or visitor port in the bottom left of the panel
Sideline Camera JBE L3A1-1 Panel

Sideline JBE L3A1-1 Panel Ports


Sideline Host Box
Tip: To access additional router ports, disconnect the short cables linking the POE injectors. Keep the HOST connection intact!


Warning: Do not disconnect the cable going to the host on the right. Only the cables going to the POE injectors that have an X in the picture
End Zone Film Location
Required Equipment:
- RCK unit
- End zone camera
Setup Steps:
- Connect the RCK ethernet port to the ethernet cable labeled for the appropriate team designation
End Zone Cables


End Zone RCK

Tip: For multiple end zone cameras, connect the stadium end zone ethernet cable to an unmanaged switch, then connect multiple RCKs to the switch
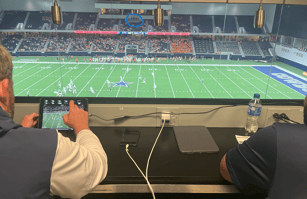
Coach Room
Required Equipment:
- Coach Box antenna
- Ethernet Cable
Setup Steps:
- Connect coach box antenna to either SkyCoach port on the wall
Coach Rooms


Tip: For enhanced performance, connect an unmanaged switch to the second port and hardwire iPads using ethernet adapters
Hardwired iPad Examples If You Have a Switch (Not Necessary)
Videos
Sideline Camera Location
End Zone Camera Location
Home Coach Room
Visitor Coach Room
.png?width=237&height=236&name=QR_Builder%20(3).png)